This is a painting I made for my dad. One of his favorite cars is the 1969 Pontiac Le Mans he used to own. So using it as inspiration I made this for him. It is the silhouette of his car as the background of a dashboard. The year of the car as well as the date I made it are incorporated into it by the speed on the speedometer which is 69 and the mileage for the date. The time is 9:11 which represents the fact that he totaled it as well as my time of birth. I used acrylic paint. The knobs are cut from a dowel stick and the hands are made from balsa wood.
Wednesday, November 13, 2013
69' Pontiac Le Mans
Labels:
acrylic,
balsa wood,
car,
dashboard,
dowel stick,
painting,
pontiac le mans,
silhouette
Thursday, August 29, 2013
Lake Eola
This is a drawing I did as a gift for a friend. It is a picture of the fountain and surroundings of Lake Eola in downtown Orlando. It was sketched with pencil then colored in with colored pencils.
Monday, June 17, 2013
R.I.P. Jerry Buss
This is a painting I did in honor of Jerry Buss. It is a combination of the Lakers primary and secondary logos as well as the Lakers new court for this year. Each of the stars surrounding the logo has a different year in which the Lakers won an NBA title under Jerry Buss. The top dates are Jerry Buss birth and death dates and the bottom ones are the years he owned the Lakers.
Labels:
Jerry Buss,
lakers,
logo,
los angeles,
purple,
yellow
Thursday, May 30, 2013
Time And Relative Dimension In Space
This is a little model of the T.A.R.D.I.S. from Doctor Who that I carved out of wood. It is about four inches tall and solid wood. After carving it I painted it blue and added clear glass stain to the window areas. Then I cut out frames for all the windows and painted them white. A mini LED light is attached to the top and a metal frame around it. I used staples for the handles.
Labels:
craft,
Doctor Who,
model,
paint,
police box,
Tardis,
window,
wood
Saturday, April 6, 2013
20 Mini Bottle Alcohol Crate
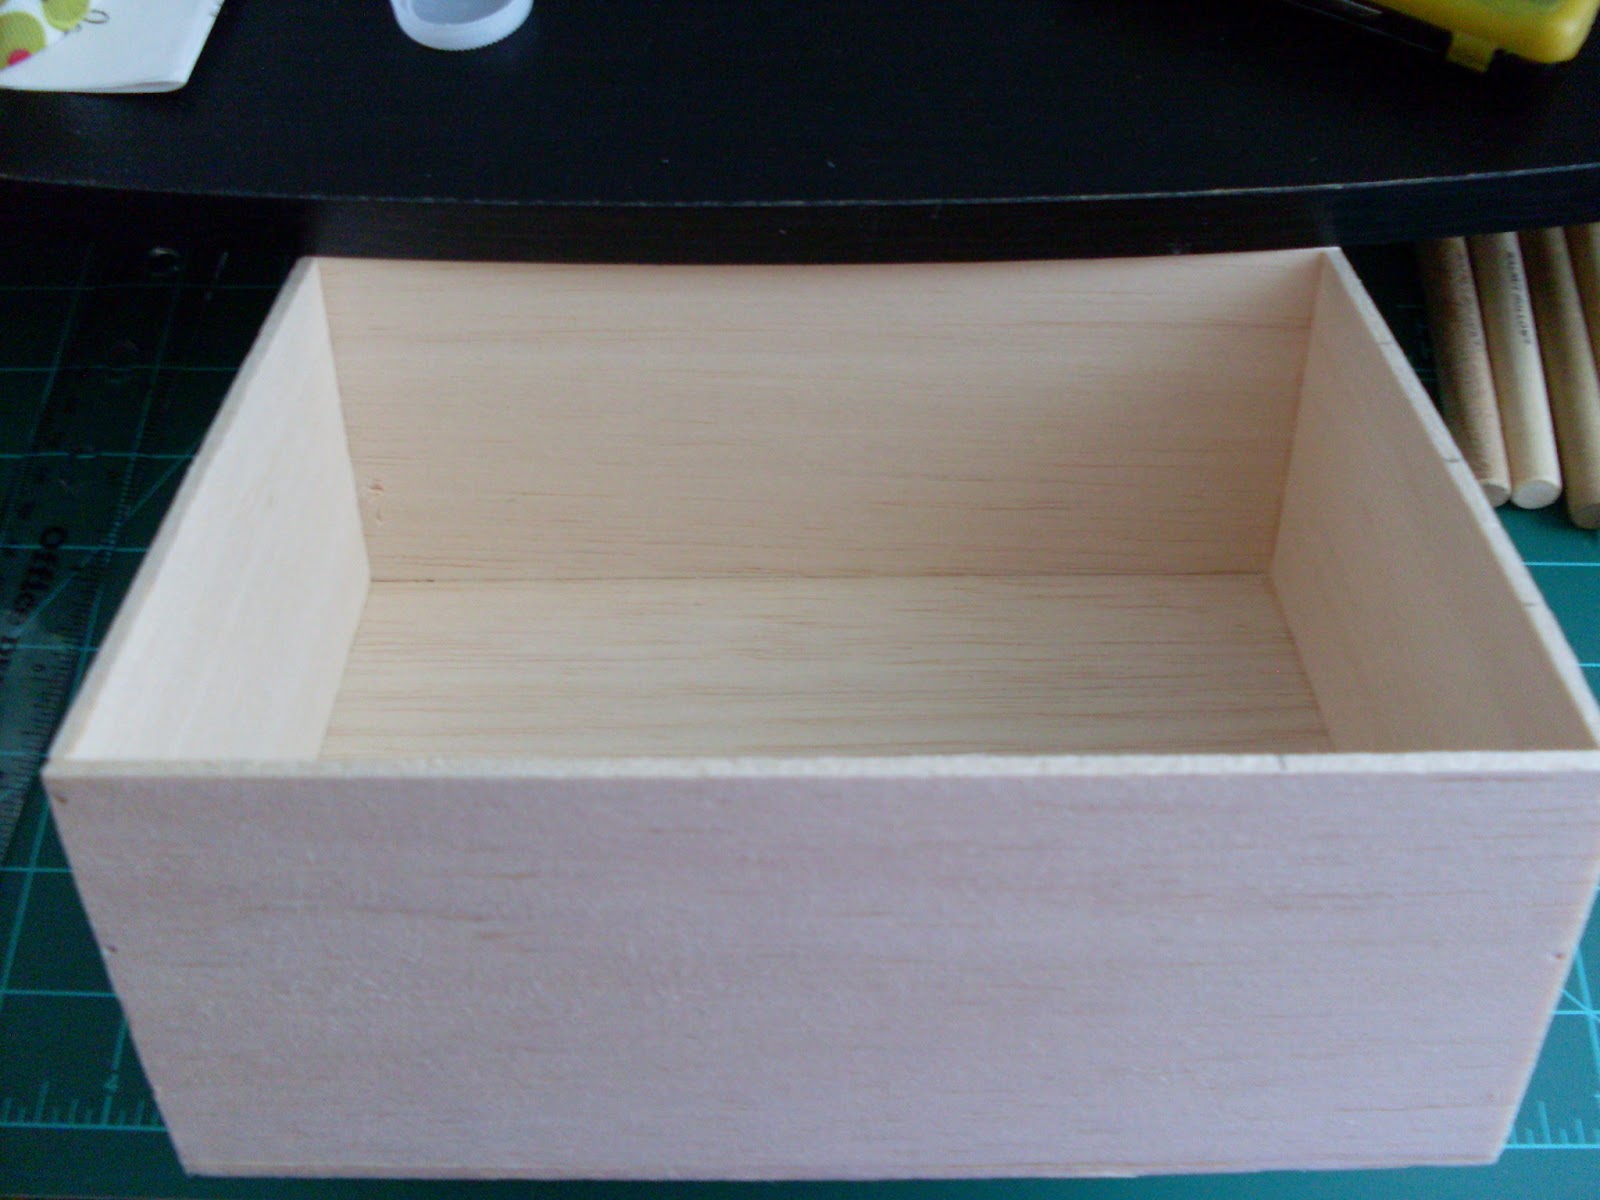
For a 21st birthday present I decided to make an old style coke crate but smaller and instead of coke bottles put alcohol bottles in it.
Materials:
1 piece balsa wood 6''x8''
2 pieces balsa wood 3''x7 3/4''
2 pieces balsa wood 3''x5 3/4''
4 pieces balsa wood 3''x5 3/4'' notched
3 pieces balsa wood 3''x7 3/4'' notched
sewing pins/stick pins
clear gel glue/wood glue
super glue/needle and thread
xacto knife
hammer
scissors
ruler
2 small screw eye hooks
2 1/2'' key rings
paint
paintbrush
ribbon
Instructions:
1. glue the 2 pieces of 3''x7 3/4'' and 2 pieces of 3''x5 3/4'' balsa wood to the 6''x8'' piece of balsa wood making a box shape.
2. use the hammer and stick pins/sewing pins to nail into the wood to help secure it together.
3. paint the box you have made and the notched pieces of balsa wood whatever color of paint you want it to be.
4. Once the paint is dry attach the notched pieces of wood together using glue to secure them inside the box making a 20 sectioned box.
5. If you want to you can also hammer in some more of the pins now to secure the grid in the box.
6. Attach the key rings to the rounded ends of the screw eye hooks and screw them into the top middle of the short sides of the box. You may want to also unscrew them and put some super glue or regular glue in the holes so they don't wiggle around and fall out.
7. Paint whatever pattern or design on the box if you haven't already done so in step 3. Since this was a 21st birthday gift I painted different styles of drinking glasses on the box.
8. Cut a piece of the ribbon off. The length will depend on how long you want the handle to be. Loop one end of the ribbon through one of the key rings and fold it back and sew it or you can use superglue to make it a little more sturdy. If you use super glue just be careful not to glue your hands to it! Once you are done with the one side do the same thing to the other and let dry.
9. Once it is completely dry go buy 20 mini bottles of alcohol and stick them inside the spots. The box is now ready to be given as a gift or enjoyed for yourself!
Materials:
1 piece balsa wood 6''x8''
2 pieces balsa wood 3''x7 3/4''
2 pieces balsa wood 3''x5 3/4''
4 pieces balsa wood 3''x5 3/4'' notched
3 pieces balsa wood 3''x7 3/4'' notched
sewing pins/stick pins
clear gel glue/wood glue
super glue/needle and thread
xacto knife
hammer
scissors
ruler
2 small screw eye hooks
2 1/2'' key rings
paint
paintbrush
ribbon
Instructions:
1. glue the 2 pieces of 3''x7 3/4'' and 2 pieces of 3''x5 3/4'' balsa wood to the 6''x8'' piece of balsa wood making a box shape.
2. use the hammer and stick pins/sewing pins to nail into the wood to help secure it together.
3. paint the box you have made and the notched pieces of balsa wood whatever color of paint you want it to be.
4. Once the paint is dry attach the notched pieces of wood together using glue to secure them inside the box making a 20 sectioned box.
5. If you want to you can also hammer in some more of the pins now to secure the grid in the box.
6. Attach the key rings to the rounded ends of the screw eye hooks and screw them into the top middle of the short sides of the box. You may want to also unscrew them and put some super glue or regular glue in the holes so they don't wiggle around and fall out.
7. Paint whatever pattern or design on the box if you haven't already done so in step 3. Since this was a 21st birthday gift I painted different styles of drinking glasses on the box.
8. Cut a piece of the ribbon off. The length will depend on how long you want the handle to be. Loop one end of the ribbon through one of the key rings and fold it back and sew it or you can use superglue to make it a little more sturdy. If you use super glue just be careful not to glue your hands to it! Once you are done with the one side do the same thing to the other and let dry.
9. Once it is completely dry go buy 20 mini bottles of alcohol and stick them inside the spots. The box is now ready to be given as a gift or enjoyed for yourself!
Labels:
alcohol,
balsa wood,
crate,
glue,
hammer,
key ring,
paint,
paintbrush,
ribbon,
ruler,
scissors,
screw eye hook,
stick pins
Saturday, March 9, 2013
Sticky Faces
Random boredom induced art work I made at work. Just a couple faces made on sticker paper with pieces or the stickers.
Friday, February 8, 2013
Custom Crafted & Constructed Cat Condo
I know it's a lot of c's but I couldn't resist. My cat Mamba is a horrible little bugger when it comes to staying off my computer desk, my tv stand, my stove, my counters and pretty much everything else I don't want him jumping on. So, I decided to get him a big cat condo for him to jump, play and lay on all he wants. The only problem with that was that the bigger ones I was looking at were all over $200 and since I'm not made of money I decided to make one with the help of my step dad and his tools. He already had the wood so the only things I had to buy were the carpet to cover it with, contact cement to glue the carpet down with and the sisal rope I used for one of the posts and that I will also use to cover the ladders steps whenever I get time to do it. The structure stands a little over 4 feet tall and cost be about $50. And the best part is that it is an abstract and one of a kind piece that fits me. Here are some pictures from beginning to end of its construction to it being used by Mamba.
Labels:
abstract,
carpet,
cat,
cat condo,
construct,
contact cement,
craft,
custom,
ladder,
scratching post,
sisal rope,
tools,
toy,
wood
Subscribe to:
Posts (Atom)