Showing posts with label balsa wood. Show all posts

Wednesday, November 13, 2013

69' Pontiac Le Mans

This is a painting I made for my dad. One of his favorite cars is the 1969 Pontiac Le Mans he used to own. So using it as inspiration I made this for him. It is the silhouette of his car as the background of a dashboard. The year of the car as well as the date I made it are incorporated into it by the speed on the speedometer which is 69 and the mileage for the date. The time is 9:11 which represents the fact that he totaled it as well as my time of birth. I used acrylic paint. The knobs are cut from a dowel stick and the hands are made from balsa wood.


Saturday, April 6, 2013

20 Mini Bottle Alcohol Crate

For a 21st birthday present I decided to make an old style coke crate but smaller and instead of coke bottles put alcohol bottles in it.

Materials:
1 piece balsa wood 6''x8''
2 pieces balsa wood 3''x7 3/4''
2 pieces balsa wood 3''x5 3/4''
4 pieces balsa wood 3''x5 3/4'' notched
3 pieces balsa wood 3''x7 3/4'' notched
sewing pins/stick pins
clear gel glue/wood glue
super glue/needle and thread
xacto knife
hammer
scissors
ruler
2 small screw eye hooks
2 1/2'' key rings
paint
paintbrush
ribbon


Instructions:
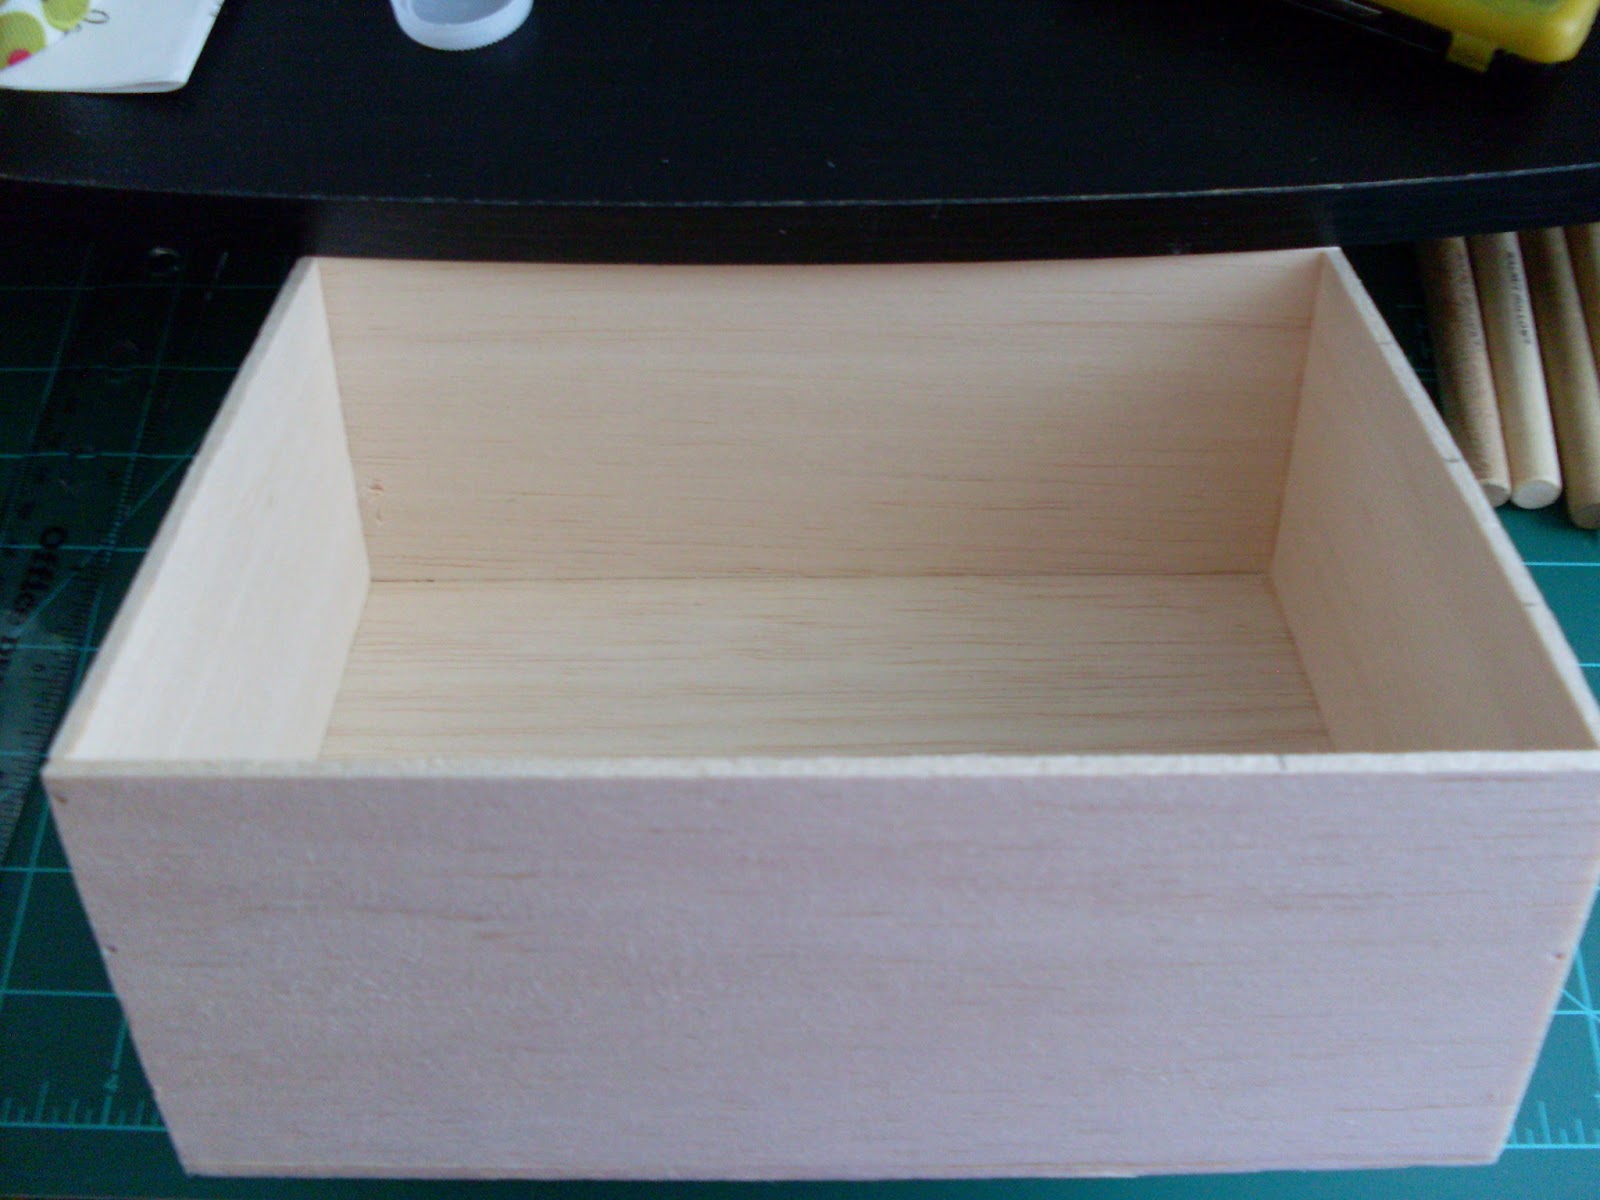
1. glue the 2 pieces of 3''x7 3/4'' and 2 pieces of 3''x5 3/4'' balsa wood to the 6''x8'' piece of balsa wood making a box shape.
2. use the hammer and stick pins/sewing pins to nail into the wood to help secure it together.
3. paint the box you have made and the notched pieces of balsa wood whatever color of paint you want it to be.
4. Once the paint is dry attach the notched pieces of wood together using glue to secure them inside the box making a 20 sectioned box.
5. If you want to you can also hammer in some more of the pins now to secure the grid in the box.
6. Attach the key rings to the rounded ends of the screw eye hooks and screw them into the top middle of the short sides of the box. You may want to also unscrew them and put some super glue or regular glue in the holes so they don't wiggle around and fall out.
7. Paint whatever pattern or design on the box if you haven't already done so in step 3. Since this was a 21st birthday gift I painted different styles of drinking glasses on the box.
8. Cut a piece of the ribbon off. The length will depend on how long you want the handle to be. Loop one end of the ribbon through one of the key rings and fold it back and sew it or you can use superglue to make it a little more sturdy. If you use super glue just be careful not to glue your hands to it! Once you are done with the one side do the same thing to the other and let dry.
9. Once it is completely dry go buy 20 mini bottles of alcohol and stick them inside the spots. The box is now ready to be given as a gift or enjoyed for yourself!

Saturday, August 25, 2012

Mini Bed

Here is the final piece of mini furniture for Hagrid's hut. It is his bed with its patchwork quilt and pillow. I took pictures of the bed with all the pieces removed then added them one at a time starting with the frame, mattress, quilt, pillow and finally pillowcase, so you could see every aspect of the bed. I also took the pictures next to a quarter so you can get an approximation of its size. The frame is made out of balsa wood that I glued and colored with a brown sharpie. The mattress is a piece of foam that I covered with brown fabric to make it look like a sheet. The quilt and pillowcase are both made from different fabrics that I glued together with fabric glue, and the pillow is a white piece of fabric sewn together and stuffed with cotton. I will hopefully have another post up soon that will show the inside of the hut with all the furniture in it, as well as the fireplace having logs and the light piece to make it look like it is lit. Until then enjoy these pictures of the bed!


Sunday, August 19, 2012

Mini Squishy Chair

This is Hagrid's squishy chair. I carved the base out of balsa wood and colored it with a sharpie. Then I used some round cotton pads as padding for the back arms and seat of the chair. Plain brown fabric is what I used to upholster it. It's very small and I took the pictures of it next to a nickle so you can see just how small.


Thursday, June 28, 2012

Mini table and chairs

Here is the next set of furniture that I made for Hagrid's hut. It is a little wooden table and chairs set. I used balsa wood for both and a brown sharpie to color them. The chairs are a little crooked and uneven but I think it gives them more character and fits my idea of what Hagrid's furniture would look like. I carved the base of the table and glued a circle of wood on top. As you will see in some of the pictures the table top is smaller than a nickle. I used the nickle to give you an idea of how small the chairs and table really are. Enjoy!


Saturday, June 16, 2012

Mini fireplace

I know it's been awhile since my last post but I will hopefully be making up for it in the next couple of weeks. I've been working on the mini pieces of furniture that will go inside of Hagrid's hut. This first piece is the fireplace which connects to the chimney in the roof of the hut.


 In these next couple pictures I put the fireplace next to a quarter so you can see how small the piece is.


I made this out of balsa wood and then used acrylic paint to give it the stone look. The mantel on the fireplace was colored with a brown sharpie.

Thursday, May 10, 2012

Hagrid's Hut

I posted a while ago some pictures of the model of Hagrid's Hut that I made based off the movie version which you can find here. This new post and pictures is of the book version of Hagrid's hut that I am working on. I just finished up the outside of the hut and have started on building some of the furniture so that it will be entirely furnished when I'm done with it. I will have some more posts once I finish the pieces of furniture.


It is all made from balsa wood and has either been colored or painted to look like wood and stone. The glass in the windows was done with clear gel glue so that it is see through when dry. The handles on the doors were made with black paper clips that I cut and shaped.

Sunday, April 22, 2012

Quidditch Pitch Stands

Here are a few pictures of the Hufflepuff and Ravenclaw quidditch pitch stands. Like the ones from my previous post they are part of a big project that I am doing all from the world of Harry Potter. They are made from balsa wood then covered with fabric and colored accordingly with sharpie permanent markers.